


Imagine your WordPress site loading faster, using less server space, and handling high traffic like a breeze.
That’s the magic of offloading your media files to cloud storage!
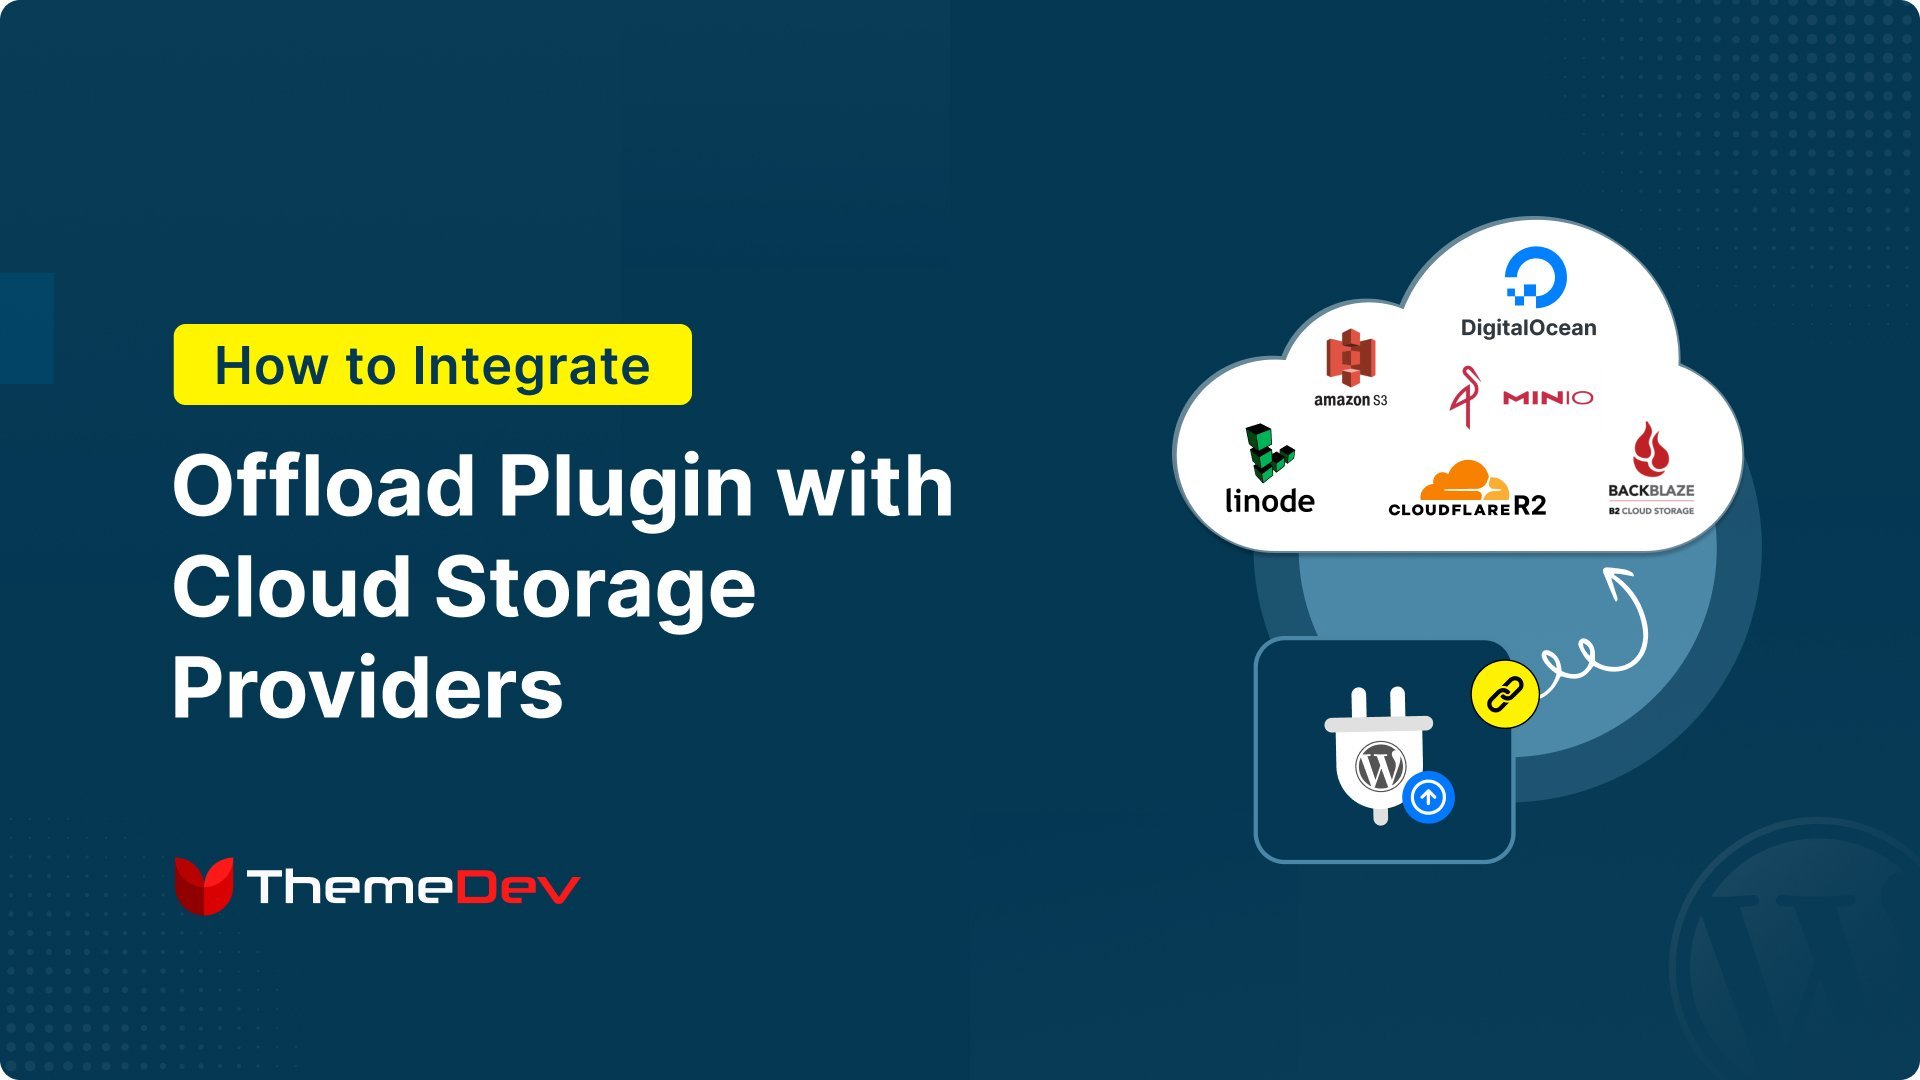
With tools like Next3 Offload, you can automatically transfer your media library to powerful cloud providers like Amazon S3, DigitalOcean Spaces, Wasabi, BunnyCDN, and many more — without writing a single line of code.
In this guide, you’ll learn how to integrate the Next3 Offload plugin with your favorite cloud storage provider and supercharge your site’s performance in just a few clicks.
Let’s get started.
Absolutely! Here’s a rewritten version of the section, tailored to fit your pillar content. It’s over 500 words, informative, reader-friendly, and optimized for ecommerce site owners and WordPress users exploring Next3 Offload with Amazon S3.
How to Integrate Offload Plugin with Amazon S3
As your WordPress site grows, media files can start to slow everything down. That’s where Amazon S3 comes in.
By integrating it with your WordPress site, you can store and serve media files from the cloud instead of relying solely on your hosting server.
This improves speed, reduces hosting costs, and helps your site scale smoothly, especially if you’re running an ecommerce site or a content-heavy blog.
And with the Next3 Offload plugin, the whole process becomes easy. You don’t need to write a single line of code — just follow a few steps, and your WordPress Media Library will be connected to Amazon S3 in no time.
What is Amazon S3?
Amazon S3 (Simple Storage Service) is a cloud storage solution offered by Amazon Web Services (AWS). It allows you to store and retrieve large amounts of data, including images, videos, documents, and backups, securely and at scale. It’s fast, highly reliable, and built to handle everything from small websites to enterprise-level apps.
When integrated with WordPress, Amazon S3 can offload your media files to the cloud. This takes the load off your server, speeds up your website, and makes your content easier to manage.
Why Use Next3 Offload with Amazon S3?
There are several plugins that support Amazon S3 integration with WordPress, but Next3 Offload stands out for its ease of use, powerful features, and advanced customization options. It’s designed to help WordPress users offload, manage, and deliver media files through cloud storage — without touching any code.
Some key features include:
- Direct integration with Amazon S3
- Easy access to existing or new S3 buckets
- Custom path settings for file organization
- Media restore and clean-up tools
- Support for offloading CSS and JS files
Step-by-Step: Connecting Amazon S3 to WordPress
Here’s how you can connect Amazon S3 to your WordPress site using Next3 Offload:
1. Install and Activate the Plugin
First, download and install the Next3 Offload plugin from your WordPress dashboard. After installation, activate the plugin and insert your license key to unlock all the features.
2. Choose Amazon S3 as Your Storage Provider
From the Next3 Offload settings panel, select Amazon S3 as your cloud storage provider. You’ll be prompted to enter your AWS Access Key ID and Secret Key.
3. Create an IAM User in AWS
Log into your AWS Console and create a new IAM user with AmazonS3FullAccess permissions. You’ll receive an Access Key ID and Secret Key — download them and keep them safe, as they won’t be shown again.
4. Define Your Bucket
Create a new S3 bucket or connect to an existing one. You can do this directly from the Next3 Offload interface. Make sure to configure the bucket’s region and permissions.
5. Adjust Public Access Settings
In your S3 bucket settings, configure public access settings. You may need to disable the “Block all public access” option and enable proper ACLs to allow file delivery to your visitors.
6. Configure Storage and Delivery Settings
Customize how files are stored and delivered. You can:
- Enable auto offload for new uploads
- Choose whether to keep a local copy
- Add year/month folder structures
- Rename files or add versioning
- Enable delivery via CDN or cloud path
7. Offload Your Files
You can now manually offload existing files or let new uploads be automatically pushed to Amazon S3. There are also options to restore files to your server or remove local versions to save space.
Integrating Amazon S3 with WordPress using Next3 Offload is one of the smartest ways to optimize your website’s media management. It’s perfect for ecommerce sites, bloggers, photographers, and anyone dealing with large amounts of media content. The best part? You don’t need technical knowledge — just follow the guided steps.
By moving your files to Amazon S3, you reduce server load, improve page speed, and prepare your site for future growth. Whether you’re running a WooCommerce store or a business blog, this integration makes your site faster, leaner, and more reliable.
👉 Want a visual walkthrough of each step? Check out the full tutorial.
How to Integrate Offload Media Plugin with Cloudflare R2 Cloud Storage

Want faster site speed and lower hosting load? Offloading your media files to Cloudflare R2 is the way to go. With Next3 Offload, you can easily connect WordPress to R2 without touching any code.
Here’s how to do it step by step:
1. Install & Activate Next3 Offload
Download the plugin from the official site. In your WP dashboard, go to Plugins → Add New → Upload → Install → Activate. Then, insert your license key to unlock full features.
2. Sign in to Cloudflare
Create a Cloudflare account if you don’t have one. Add your website and go through the setup to connect it with Cloudflare DNS.
3. Get Your R2 Credentials
From the Cloudflare dashboard, go to the R2 tab. Click Create API Token, give it full access, and save your Access Key ID, Secret Key, and Endpoint.
4. Connect R2 to Next3
In Next3’s setup, choose S3 Object Storage as your provider. Paste in your Access Key, Secret Key, and Endpoint.
5. Link to an R2 Bucket
Select or create a bucket in R2. Save the bucket settings to complete the connection.
6. Set Storage Preferences
Go to Storage Settings. Enable media offload, local copy, and optional features like versioning, file renaming, and structured paths (e.g., year/month folders).
7. Enable Delivery Settings
Pick a delivery provider (like Cloudflare CDN) in the Delivery Settings tab. Save the changes.
8. Offload Your Files
Go to Offload Settings. Click Offload Now to transfer your media files to Cloudflare R2. You can also restore or clean up files anytime.
To learn more about the entire process step-by-step visually, please read this complete blog.
How to Integrate Offload Plugin with MinIO (Step-by-Step)
MinIO is a high-performance, open-source object storage system built for private and hybrid cloud environments. The best part? It’s fully S3-compatible, making it easy to connect with WordPress using tools like Next3 Offload.
Why Use MinIO for WordPress?
MinIO is fast, lightweight, and reliable—ideal for developers and teams who want full control over their data. Here are some key benefits:
- Speeds up your WordPress site by reducing server load
- Keeps your media files secure and protected
- Helps avoid data loss through multi-drive redundancy
- Boosts SEO and improves user experience with faster load times
- Supports scalability as your site grows
What’s the Process?
To offload WordPress media to MinIO, you’ll use the Next3 Offload plugin. It supports 20+ cloud storage providers, including MinIO (via S3-compatible integration).
The full process includes:
- Installing and activating the Next3 Offload plugin
- Selecting S3 as the provider
- Creating a MinIO account and collecting your credentials
- Connecting with your bucket
- Adjusting delivery, storage, and offload settings
- Offloading existing files from the media library
Each step involves simple clicks, key entries, and enabling a few toggles—no coding required.
To read the full tutorial with screenshots, detailed steps, and pro tips, here’s the blog you should read.
How to Integrate the Offload Plugin to Upload Files to Backblaze B2 Storage
If you’re looking to boost your WordPress site’s speed, reduce hosting strain, and keep your files secure, offloading your media, JS, and CSS files to Backblaze B2 Cloud Storage is a solid strategy. It’s especially useful if your site’s media library is growing fast or if you’re using shared hosting that can’t keep up with demand.
Backblaze B2 is S3-compatible, reliable, and way more affordable than many alternatives like AWS S3. It integrates seamlessly with WordPress when using an offloading plugin like Next3 Offload—making the setup easier than you might expect.
Let’s walk through the entire process step-by-step.
Step 1: Create a Backblaze B2 Account
Go to Backblaze and create a free account (or log in if you already have one). This gives you access to the B2 Cloud dashboard.
Step 2: Create a Storage Bucket
- Once logged in, navigate to Buckets and click Create a Bucket.
- Give your bucket a name, set it to either private or public, and create it.
- Once done, copy the Endpoint URL—you’ll need this later.
Step 3: Generate Application Keys
- Head over to the Application Keys section.
- Click Add a New Application Key, enter the required info, and create it.
- You’ll be given a Key ID and Application Key—save both securely. You’ll use them to connect Backblaze to WordPress.
Step 4: Install the Next3 Offload Plugin on WordPress
- Download Next3 Offload and upload it to your WordPress site by navigating to:
Plugins → Add New → Upload Plugin.
- Install and activate it, then enter your license key to unlock full functionality.
Step 5: Connect to Backblaze via Plugin
- In the plugin’s setup screen, choose S3 Object Storage as the provider.
- Enter your saved Access Key ID, Secret Access Key, and the Endpoint URL.
- Click Next to move on.
Step 6: Configure Storage Settings
Set up how files are managed and stored in the cloud. You can:
- Add a prefix to your bucket path
- Include date-based folders
- Rename files automatically
- Choose whether to keep local copies or not
Step 7: Set Delivery Settings
- Choose how your media files are delivered—whether via CDN or directly.
- Tweak performance options to ensure optimal delivery.
Step 8: Offload Existing Files
- Head to the Offload Settings tab and click Offload Now.
- You can offload all existing media, or just specific files like JS and CSS.
- You can also restore files to local storage or clean up local copies after offloading.
By following these steps, your WordPress site will be connected to Backblaze B2 Cloud Storage—improving speed, scalability, and security. You’ll spend less time managing media and more time growing your site.
Want a more visual, detailed tutorial with screenshots and setup tips?
👉 Check out the full blog here for a complete walkthrough.
How to Upload WordPress Media Files to Linode by Integrating the Offload Media Plugin
As WordPress websites grow, they accumulate large numbers of media files—images, videos, PDFs, and more. These files can quickly eat up server resources, leading to slower load times, poor user experience, and a heavier backend workload. A smart solution to these challenges is offloading media files to Linode Object Storage, a powerful cloud storage service that reduces server strain and enhances performance.
What is Linode Object Storage?
Linode Object Storage is a secure and scalable cloud-based solution designed to store massive volumes of unstructured data. Since its acquisition by Akamai in 2022, Linode’s capabilities have expanded to include global content delivery and improved security infrastructure, making it even more reliable. It’s ideal for WordPress site owners who want a flexible, pay-as-you-go storage model without worrying about local server capacity.
Linode Object Storage allows developers, business owners, and content managers to integrate seamless cloud storage into their workflows, regardless of technical background. It’s easy to use, supports S3-compatible tools, and is built to grow with your website needs.
Benefits of Offloading Media Files to Linode
There are numerous advantages to transferring your media files to Linode’s cloud system:
- Improved Performance: Offloading reduces server load, resulting in faster page load times.
- Scalability: As your site grows, you can expand storage without compromising performance.
- Security: Files are protected through encryption and detailed access control.
- Global Speed: Content is accessible quickly from anywhere in the world.
- Disaster Recovery: Store site backups and restore them when needed.
- Resource Optimization: Frees up your hosting server for other critical tasks.
- Seamless Integration: Compatible plugins make the offloading process simple and effective.
Step-by-Step Setup Guide
To successfully offload WordPress media to Linode Object Storage, follow these key steps:
- Create a Linode Bucket: Sign into your Linode Cloud Manager and create a new object storage bucket, selecting a region and naming your bucket appropriately.
- Configure Bucket Policies: Set JSON-based policies to manage access and permissions across your storage.
- Generate Access Keys: These keys allow secure communication between your WordPress site and Linode’s storage environment.
- Install Next3 Offload Plugin: This plugin simplifies the offloading process and includes bonus features like image optimization, WebP support, and database cleanup.
- Enter Credentials: Input your access key, secret key, and endpoint into the plugin’s dashboard to link the systems.
- Adjust Storage & Delivery Settings: Customize how files are managed, delivered, and whether they remain stored locally.
- Offload Your Files: Begin migrating media to the cloud with one click. The plugin also lets you manage CSS/JS assets and reverse offloading if needed.
👉 Want the full detailed walkthrough with screenshots and exact configurations?
Read the complete blog on how to offload WordPress media files to Linode Object Storage here.
How to Integrate a Offload Plugin with Digital Ocean Cloud Storage
Continuing our series on optimizing WordPress media storage, we now shift our focus to DigitalOcean, a developer-friendly cloud platform that blends power with simplicity.
If you’re managing a growing WordPress site with increasing demands for storage and speed, DigitalOcean offers a scalable, cost-efficient solution to offload your media files without compromising performance.
Offloading isn’t just about saving server space — it’s about future-proofing your site’s performance, streamlining media handling, and delivering faster user experiences.
Let’s dive into how DigitalOcean plays a role in that transformation.
Introducing DigitalOcean
DigitalOcean is more than just cloud hosting—it provides managed databases, object storage (Spaces), load balancers, and other powerful developer tools. With features like backups, monitoring, and built-in security, it has earned a strong reputation among developers and small to medium businesses.
Its transparent pricing, ease of use, and detailed documentation make it an ideal choice for WordPress site owners looking for a dependable and affordable media offloading solution.
Why Integrate DigitalOcean with WordPress?
Offloading your media files from WordPress to DigitalOcean offers numerous benefits:
- Speed & Performance: Faster load times with SSD storage and global delivery options.
- Scalability: Effortlessly grow your media storage as your site grows.
- Cost-Efficiency: Pay only for what you use, with flexible pricing.
- Developer-Friendly: Easy deployment, intuitive UI, and pre-configured droplets.
- Full Control: Customize server settings as per your needs.
- Reliable Infrastructure: Global data centers with high uptime.
- Enhanced Security: VPNs, firewalls, SSH keys, and encryption options.
Which Plugin Should You Use?
For seamless integration, you need a powerful plugin. Here are the top three WordPress plugins for DigitalOcean:
- Next3 Offload: Intuitive UI, image compression, CDN integration, and automated backups.
- DigitalOcean Spaces Sync: Syncs and manages media libraries with ease.
- Jenkins DigitalOcean Plugin: Best for advanced users needing droplet control for CI/CD.
Among these, Next3 Offload is highly recommended due to its all-in-one feature set and beginner-friendly interface.
How to Connect WordPress with DigitalOcean Using Next3 Offload
Step 1: Install the Plugin
Upload and activate the Next3 Offload plugin on your WordPress dashboard. Insert your license key to unlock full functionality.
Step 2: Choose a Provider
Select DigitalOcean as your cloud storage provider.
Step 3: Log In & Set Up Spaces
Log into DigitalOcean, create a Spaces Bucket, and generate your Access Key and Secret Key.
Step 4: Configure and Connect
Enter the keys in Next3 Offload and connect your WordPress site with your Spaces Bucket.
Step 5: Customize Settings & Offload Files
Set up delivery and storage options, then offload existing and future media files from your WordPress media library. You can even offload CSS and JS files and restore media back to local storage if needed.
✅ Ready to make your WordPress site faster and more scalable?
👉 Read the full step-by-step blog with screenshots and in-depth guidance on offloading media to DigitalOcean.
Final Thoughts on Integrating Offload Plugin with Cloud Storage Providers
As websites grow in content and complexity, the demand for smarter media management becomes non-negotiable. Offloading your WordPress media files to a reliable cloud storage provider is no longer a “nice to have” — it’s a must-do for performance, scalability, and long-term efficiency.
Each cloud solution—whether it’s Amazon S3, Cloudflare R2, Backblaze B2, DigitalOcean Spaces, Wasabi, or others—brings unique strengths to the table. The key is choosing a provider and plugin that align with your website’s size, traffic, and technical needs.
Tools like Next3 Offload bridge the gap between WordPress and the cloud, offering intuitive interfaces, powerful automation, and seamless integration with your storage bucket. Whether you’re aiming to save server space, improve load times, or simplify media management for your team, this type of setup offers a future-proof solution that grows with your site.
In short, if you want to build a faster, cleaner, and more scalable WordPress experience, offloading media is one of the smartest upgrades you can make.